Perfect Pan Seared Scallops
Highlighted under: Tastes of the Globe
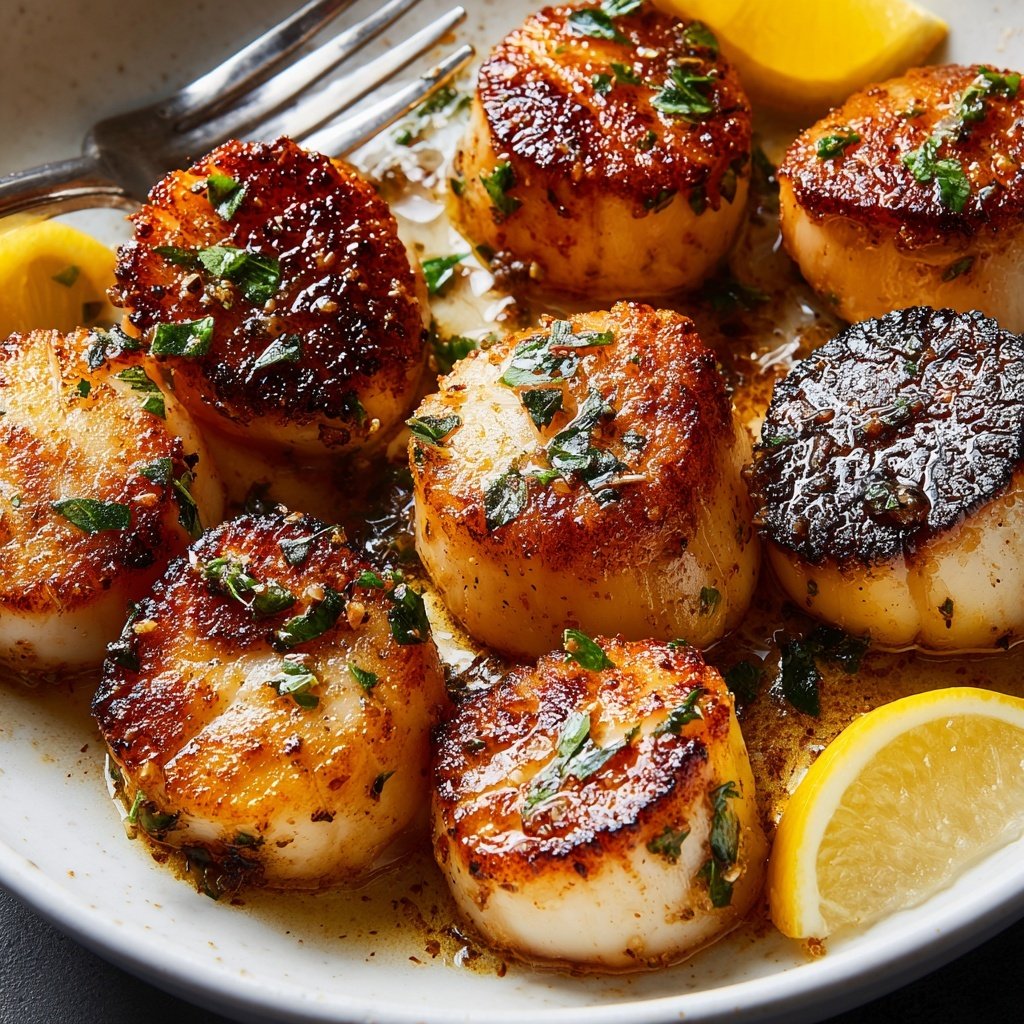
I absolutely love making Perfect Pan Seared Scallops for a quick, elegant meal that never fails to impress. The key to achieving that delicious golden crust is all about patience and using the right type of pan. Each time I make this dish, the heavenly aroma fills my kitchen, and I can't help but feel excited. Whether it's a weeknight dinner or a special occasion, these scallops offer a burst of flavor and a delightful textural contrast that needs to be experienced firsthand!
When I first attempted searing scallops, I struggled to get that perfect crust without overcooking them. After several tries, I learned that drying the scallops thoroughly before cooking makes a significant difference. Patting them dry allows the Maillard reaction to occur, resulting in a beautifully golden color and rich flavor.
I also found that using a cast-iron skillet provides the best heat retention, which is essential for achieving that ideal sear. Listening for the sizzle when they hit the pan is crucial; it’s a good indicator to leave them undisturbed for a couple of minutes to develop that irresistible crust.

Why You Will Love This Recipe
- Succulent seafood paired with a delicate buttery sauce
- Quick and impressive dish that's perfect for entertaining
- An elegant meal that complements a variety of sides
Mastering the Searing Technique
The key to achieving that perfect golden crust on your scallops lies in the way you sear them. Using a cast-iron skillet is essential, as it retains heat exceptionally well, allowing for an even sear. Ensure your scallops are completely dry before hitting the pan; any moisture will create steam, which hinders browning. Sear in a single layer, ensuring there's sufficient space between each scallop. This prevents overcrowding and ensures that each one develops a lovely, caramelized surface.
When placing scallops in the skillet, resist the urge to move them around. Let them cook undisturbed for 2-3 minutes. You'll know they’re ready to flip when you see deep golden edges forming and they naturally release from the pan. If they stick, they likely need more time. Proper timing and patience are crucial; rushing this step can compromise texture and flavor.
The Role of Butter and Garlic
Adding butter and garlic after flipping the scallops not only enhances their flavor but also provides essential moisture. The butter helps create a rich, velvety sauce that coats the scallops beautifully. As the butter melts, it should bubble and foam slightly; this indicates it’s hot enough to infuse the garlic’s aroma into the dish. Make sure to swirl the pan with a spoon, allowing the butter to baste the scallops continuously for that luscious depth of flavor.
If you don’t have unsalted butter on hand, you can use salted butter; just be mindful of the amount of salt you add initially to the scallops. Alternatively, for a dairy-free twist, you can substitute olive oil in place of butter while still achieving a splendidly seared scallop with a lighter flavor profile. Just ensure to use a high-quality oil for the best results.
Serving Tips and Variations
For an impressive presentation, consider serving your scallops on a bed of sautéed spinach or over creamy risotto. Both pair beautifully with the scallops, enhancing their natural sweetness while providing contrasting textures. A drizzle of lemon juice just before serving brightens the dish, making the flavors pop. Additionally, you can experiment with other garnishes, such as microgreens or a sprinkle of capers for an added layer of sophistication.
Feel free to customize this recipe with different herbs or spices. Fresh thyme or dill can provide a unique twist, and a pinch of red pepper flakes adds a hint of heat. If you want to scale this dish up for a larger gathering, simply increase the ingredients proportionally, keeping the same cooking method. Just cook the scallops in batches to maintain the sear quality you desire.
Ingredients
Gather these ingredients to elevate your dinner experience!
For the Scallops
- 12 large sea scallops
- Salt and pepper, to taste
- 2 tablespoons olive oil
- 2 tablespoons unsalted butter
- 2 cloves garlic, minced
- 1 tablespoon fresh lemon juice
- Chopped parsley, for garnish
Make sure your scallops are the freshest available for the best flavor!
Instructions
Follow these steps for perfectly seared scallops.
Prepare the Scallops
Rinse the scallops under cold water and pat them very dry with paper towels. Season both sides with salt and pepper.
Heat the Pan
In a cast-iron skillet, heat the olive oil over medium-high heat until shimmering but not smoking.
Sear the Scallops
Add the scallops to the pan in a single layer, ensuring not to overcrowd. Sear for 2-3 minutes on one side without moving them, until a deep golden crust forms.
Finish Cooking
Carefully flip the scallops and add the butter and minced garlic to the pan. Cook for an additional 1-2 minutes, basting the scallops with the melted butter.
Add Lemon Juice and Serve
Remove the scallops from the pan, drizzle with fresh lemon juice, and garnish with chopped parsley. Serve immediately.
Serve your scallops alongside your favorite sides!
Pro Tips
- For the best results, buy dry scallops instead of wet
- they sear better and taste more flavorful.
Storage and Reheating
If you have leftovers, store the cooked scallops in an airtight container in the refrigerator for up to two days. However, be aware that reheating scallops can lead to a rubbery texture if done improperly. For the best results, reheat gently in a skillet over medium-low heat, adding a splash of water or broth to prevent drying out. Alternatively, you can add them to a creamy pasta dish to ensure they remain moist while heated through.
If you’re looking to prep ahead, consider cooking the scallops and sauce separately. Keep both components in the fridge, then combine them right before serving to maintain the scallops' crispness. This not only makes for easy plating but also allows you to enjoy the crispy texture from fresh cooking without compromising the delightful buttery flavor.
Common Troubleshooting
A common issue when searing scallops is undercooking or overcooking them. Pay close attention to their visual cues: they should be a rich golden brown on the outside and slightly opaque in the center with a firm texture. If your scallops seem rubbery or tough, it's likely they've been overcooked, so keep your cooking times precise.
On the flip side, if they are still translucent after the suggested cooking times, give them another minute on low heat. You can always slice one in half to check doneness without ruining the presentation. Remember, practice makes perfect; with each attempt, you will get more accustomed to the timing and nuances of cooking scallops just right.
Questions About Recipes
→ What type of scallops should I use?
It's best to use dry sea scallops for a firmer texture and better flavor.
→ Can I make this recipe with frozen scallops?
Yes, but make sure to properly thaw them and pat them dry before cooking.
→ What sides pair well with scallops?
Creamy risotto, sautéed asparagus, or a fresh salad complement scallops beautifully.
→ How do I know when scallops are done cooking?
Scallops should be opaque in the center and bounce back when lightly pressed, indicating they are cooked through.
Perfect Pan Seared Scallops
Created by: Chantel Rivers
Recipe Type: Tastes of the Globe
Skill Level: Intermediate
Final Quantity: 2 servings
What You'll Need
For the Scallops
- 12 large sea scallops
- Salt and pepper, to taste
- 2 tablespoons olive oil
- 2 tablespoons unsalted butter
- 2 cloves garlic, minced
- 1 tablespoon fresh lemon juice
- Chopped parsley, for garnish
How-To Steps
Rinse the scallops under cold water and pat them very dry with paper towels. Season both sides with salt and pepper.
In a cast-iron skillet, heat the olive oil over medium-high heat until shimmering but not smoking.
Add the scallops to the pan in a single layer, ensuring not to overcrowd. Sear for 2-3 minutes on one side without moving them, until a deep golden crust forms.
Carefully flip the scallops and add the butter and minced garlic to the pan. Cook for an additional 1-2 minutes, basting the scallops with the melted butter.
Remove the scallops from the pan, drizzle with fresh lemon juice, and garnish with chopped parsley. Serve immediately.
Extra Tips
- For the best results, buy dry scallops instead of wet
- they sear better and taste more flavorful.
Nutritional Breakdown (Per Serving)
- Calories: 380 kcal
- Total Fat: 26g
- Saturated Fat: 15g
- Cholesterol: 195mg
- Sodium: 85mg
- Total Carbohydrates: 32g
- Dietary Fiber: 3g
- Sugars: 24g
- Protein: 6g