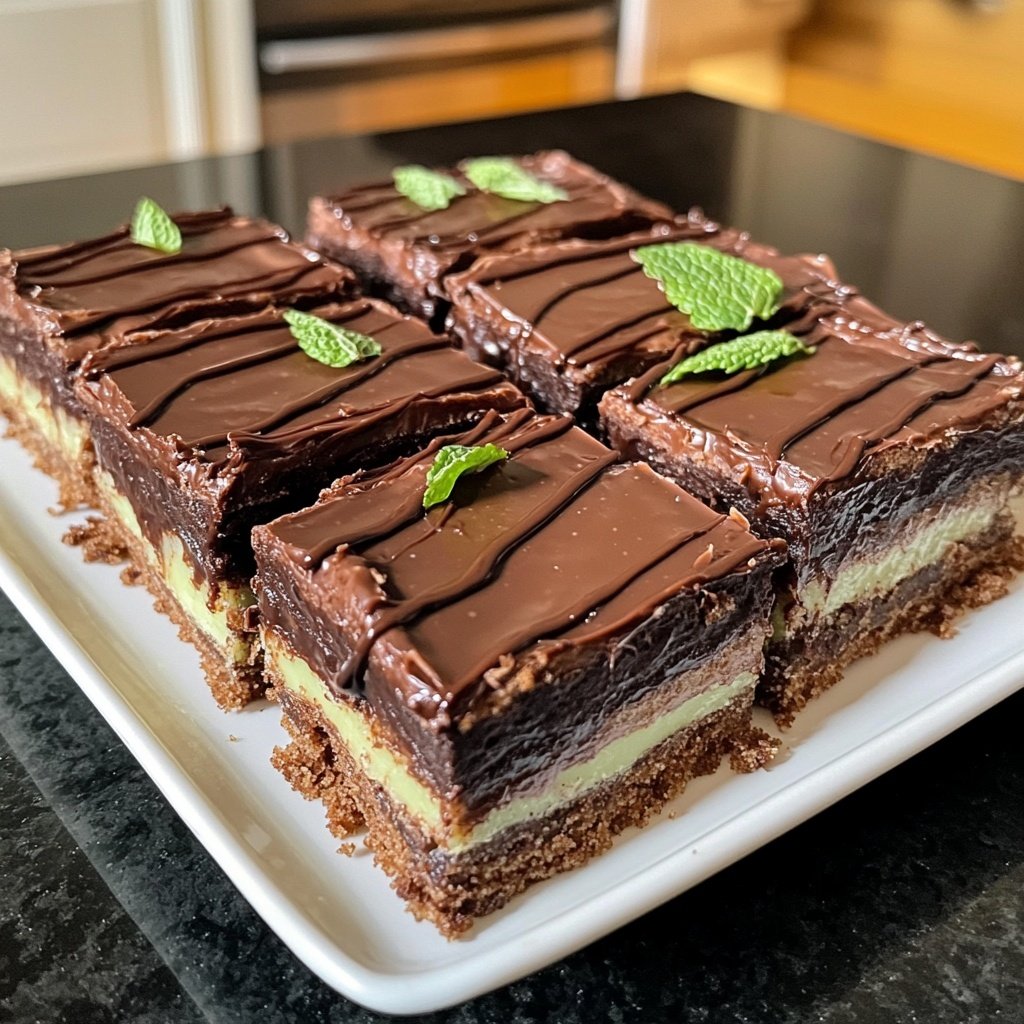
Chocolate Mint Slice Bars
Highlighted under: Sweet Temptations
I absolutely love making Chocolate Mint Slice Bars when I crave something sweet and refreshing. The combination of rich chocolate and vibrant mint creates a delightful balance that leaves everyone wanting more. The layers are easy to assemble, making it perfect for gatherings or a sweet treat at home. I often find that a touch of peppermint oil really enhances the flavor without overwhelming it, and these bars always disappear fast at parties. Give them a try for a guaranteed crowd-pleaser!
When I first made these Chocolate Mint Slice Bars, I was amazed at how simple it was to create something so decadent. The chocolate layer is rich and creamy, while the mint filling gives a refreshing twist. I discovered that letting the bars chill overnight in the fridge enhances the texture, making them even more enjoyable. Trust me; this step is worth the wait!
Every time I serve these bars, I love watching my friends' faces light up with each bite. The key is to balance the mint flavor carefully; too much can overpower the chocolate. By adding just a few drops of peppermint extract to the filling, I’m able to achieve the perfect level of freshness without it being too intense. It's these little details that make the bars unforgettable.
Why You'll Love These Bars
- Decadent layers of rich chocolate and bright mint flavor
- Easy to make and perfect for parties
- Texture is creamy yet firm, making them easy to slice and serve
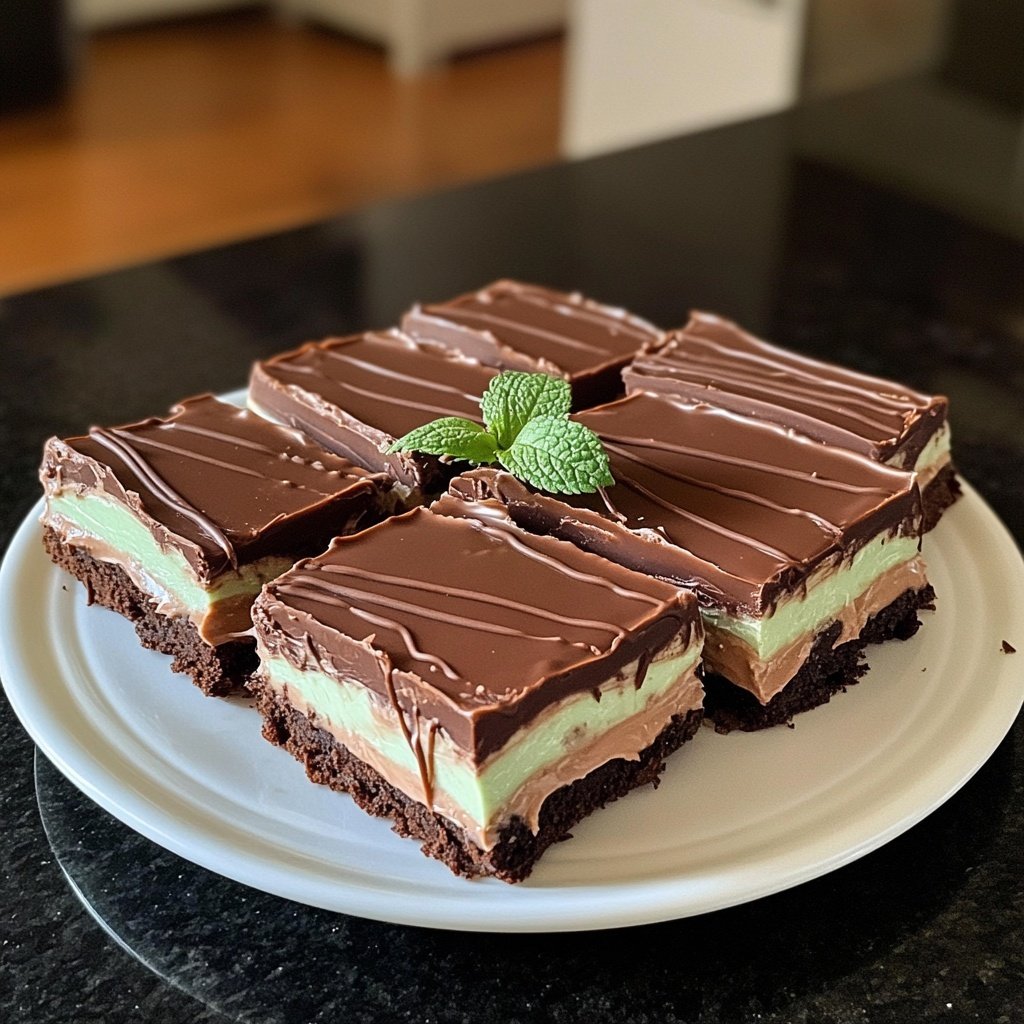
Understanding the Texture
The unique texture of Chocolate Mint Slice Bars is designed to strike a perfect balance between creamy and firm. The cream cheese in the mint filling contributes to a smooth, rich texture, while the powdered sugar adds sweetness without adding too much moisture. Ensure your cream cheese is thoroughly softened; this will minimize lumps and give a beautifully creamy filling. If it's too cold, the filling could become gritty, so always leave it out of the fridge for at least 30 minutes before mixing.
When preparing the base, press the biscuit mixture firmly into the baking pan. You want it to be tightly packed to create a stable foundation that won’t crumble when sliced. A flat-bottomed glass works well for this purpose; it ensures even pressure and an even surface. If you find your base is too crumbly after chilling, add a bit more melted butter—1 tablespoon at a time—to help bind it together.
Flavor Enhancement Tips
For a fully developed mint flavor, consider experimenting with your peppermint extract. Start with one teaspoon, but if you love stronger mint notes, gradually increase it—just be careful not to overshadow the chocolate. Additionally, a drop or two of peppermint oil can be added for a more intense flavor, but use it sparingly as it is much more potent than extract. Taste the filling before spreading to ensure it meets your preference.
The chocolate topping can also be jazzed up by adding a pinch of salt which will enhance the overall flavor. Consider a sprinkle of sea salt on top right before it sets to bring out the chocolate's richness. For a festive touch, you might even add finely crushed peppermint candies on top once the chocolate has cooled slightly; they will add color and a delightful crunch.
Storage and Serving Suggestions
These bars can be made ahead of time, making them a fantastic option for parties. Once cut, store the bars in an airtight container in the fridge for up to a week. If you’d like to keep them longer, these bars freeze beautifully. Wrap individual slices in plastic wrap, then place them in a freezer-safe container. They can be kept frozen for up to three months. Allow them to thaw in the fridge overnight before serving for the best texture.
When it comes to serving, these bars can be paired with various accompaniments. A dollop of whipped cream on the side can add a delightful creaminess, or a drizzle of hot fudge can make for an indulgent dessert experience. For a refreshing twist, serve alongside fresh berries, which can cut through the richness and provide a pleasant contrast in texture and flavor.
Ingredients
For the Base Layer
- 200g digestive biscuits, crushed
- 100g unsalted butter, melted
- 2 tablespoons cocoa powder
For the Mint Filling
- 250g cream cheese, softened
- 2 cups powdered sugar
- 1 teaspoon peppermint extract
- Green food coloring (optional)
For the Chocolate Topping
- 200g dark chocolate, chopped
- 2 tablespoons coconut oil
Instructions
Preparation Steps
Prepare the Base Layer
In a bowl, combine crushed digestive biscuits, melted butter, and cocoa powder until well mixed. Press the mixture firmly into the base of a lined square baking pan and refrigerate for 15 minutes.
Make the Mint Filling
In a mixing bowl, beat the softened cream cheese until smooth. Gradually add powdered sugar and peppermint extract, mixing until combined. If using, add a few drops of green food coloring until desired color is reached.
Layer the Mint Filling
Spread the mint filling evenly over the cooled base layer. Use a spatula to create a smooth surface, then return to the fridge for an additional 10 minutes.
Prepare the Chocolate Topping
In a small saucepan, melt the chopped dark chocolate and coconut oil together over low heat, stirring until smooth. Allow it to cool slightly before pouring over the mint layer.
Chill and Serve
Spread the melted chocolate evenly over the top of the mint layer. Return to the fridge and let chill for at least 1 hour before cutting into bars. Enjoy!
Enjoy Your Chocolate Mint Slice Bars!
Pro Tips
- For a fun twist, try adding crushed peppermint candies on top of the chocolate layer before it sets. This will enhance the mint flavor and provide a delightful crunch!
Ingredient Substitutions
If you're looking for a gluten-free option, replace the digestive biscuits with gluten-free alternatives, such as almond flour mixed with a bit of coconut oil to form a similar crust. This can provide an equally satisfying base while catering to dietary restrictions. A no-bake crust made with dates and nuts can also add a nutritious twist, though the texture will differ slightly from traditional biscuits.
For dairy-free alternatives, consider using a plant-based cream cheese and making sure your chocolate is diary-free as well. Vegan butter can stand in for unsalted butter in the crust without sacrificing too much flavor or texture. When opting for dairy alternatives, keep in mind that flavors can differ, so taste as you go to maintain the balance.
Troubleshooting Common Issues
If your bars are too soft or start falling apart when sliced, it could indicate that the mint filling was not chilled long enough before cutting. Make sure to let them chill thoroughly, ideally at least 1 hour, but overnight is even better if you have the time. Conversely, if the chocolate topping is becoming too thick to pour, gently reheat it over low heat; this tends to solve thickening issues and maintains smoothness.
When cutting the bars, a hot knife (dipped in hot water and then wiped dry) can help achieve cleaner cuts. This technique minimizes crumbs and helps maintain the integrity of each layer. If your layers are sticking to the knife, it could be helpful to freeze the whole tray for about 10-15 minutes before cutting for a cleaner finish.
Questions About Recipes
→ Can I use a different type of cookie for the base?
Yes! Feel free to use any type of cookie you enjoy, such as Oreos or graham crackers.
→ How should I store the bars?
Keep them in an airtight container in the refrigerator, where they will last up to one week.
→ Can I freeze these bars?
Absolutely! Just wrap them tightly in plastic wrap and store them in the freezer for up to 3 months.
→ Is there a vegan option for this recipe?
Yes, you can substitute cream cheese with a plant-based alternative and use dairy-free dark chocolate.
Chocolate Mint Slice Bars
What You'll Need
For the Base Layer
- 200g digestive biscuits, crushed
- 100g unsalted butter, melted
- 2 tablespoons cocoa powder
For the Mint Filling
- 250g cream cheese, softened
- 2 cups powdered sugar
- 1 teaspoon peppermint extract
- Green food coloring (optional)
For the Chocolate Topping
- 200g dark chocolate, chopped
- 2 tablespoons coconut oil
How-To Steps
In a bowl, combine crushed digestive biscuits, melted butter, and cocoa powder until well mixed. Press the mixture firmly into the base of a lined square baking pan and refrigerate for 15 minutes.
In a mixing bowl, beat the softened cream cheese until smooth. Gradually add powdered sugar and peppermint extract, mixing until combined. If using, add a few drops of green food coloring until desired color is reached.
Spread the mint filling evenly over the cooled base layer. Use a spatula to create a smooth surface, then return to the fridge for an additional 10 minutes.
In a small saucepan, melt the chopped dark chocolate and coconut oil together over low heat, stirring until smooth. Allow it to cool slightly before pouring over the mint layer.
Spread the melted chocolate evenly over the top of the mint layer. Return to the fridge and let chill for at least 1 hour before cutting into bars. Enjoy!
Extra Tips
- For a fun twist, try adding crushed peppermint candies on top of the chocolate layer before it sets. This will enhance the mint flavor and provide a delightful crunch!
Nutritional Breakdown (Per Serving)
- Calories: 380 kcal
- Total Fat: 26g
- Saturated Fat: 15g
- Cholesterol: 195mg
- Sodium: 85mg
- Total Carbohydrates: 32g
- Dietary Fiber: 3g
- Sugars: 24g
- Protein: 6g